ROOFING AND RESTORATION BLOG

New Roof Installation Process: A Step-by-Step Guide for Homeowners
July 16, 2026

Key Takeaways


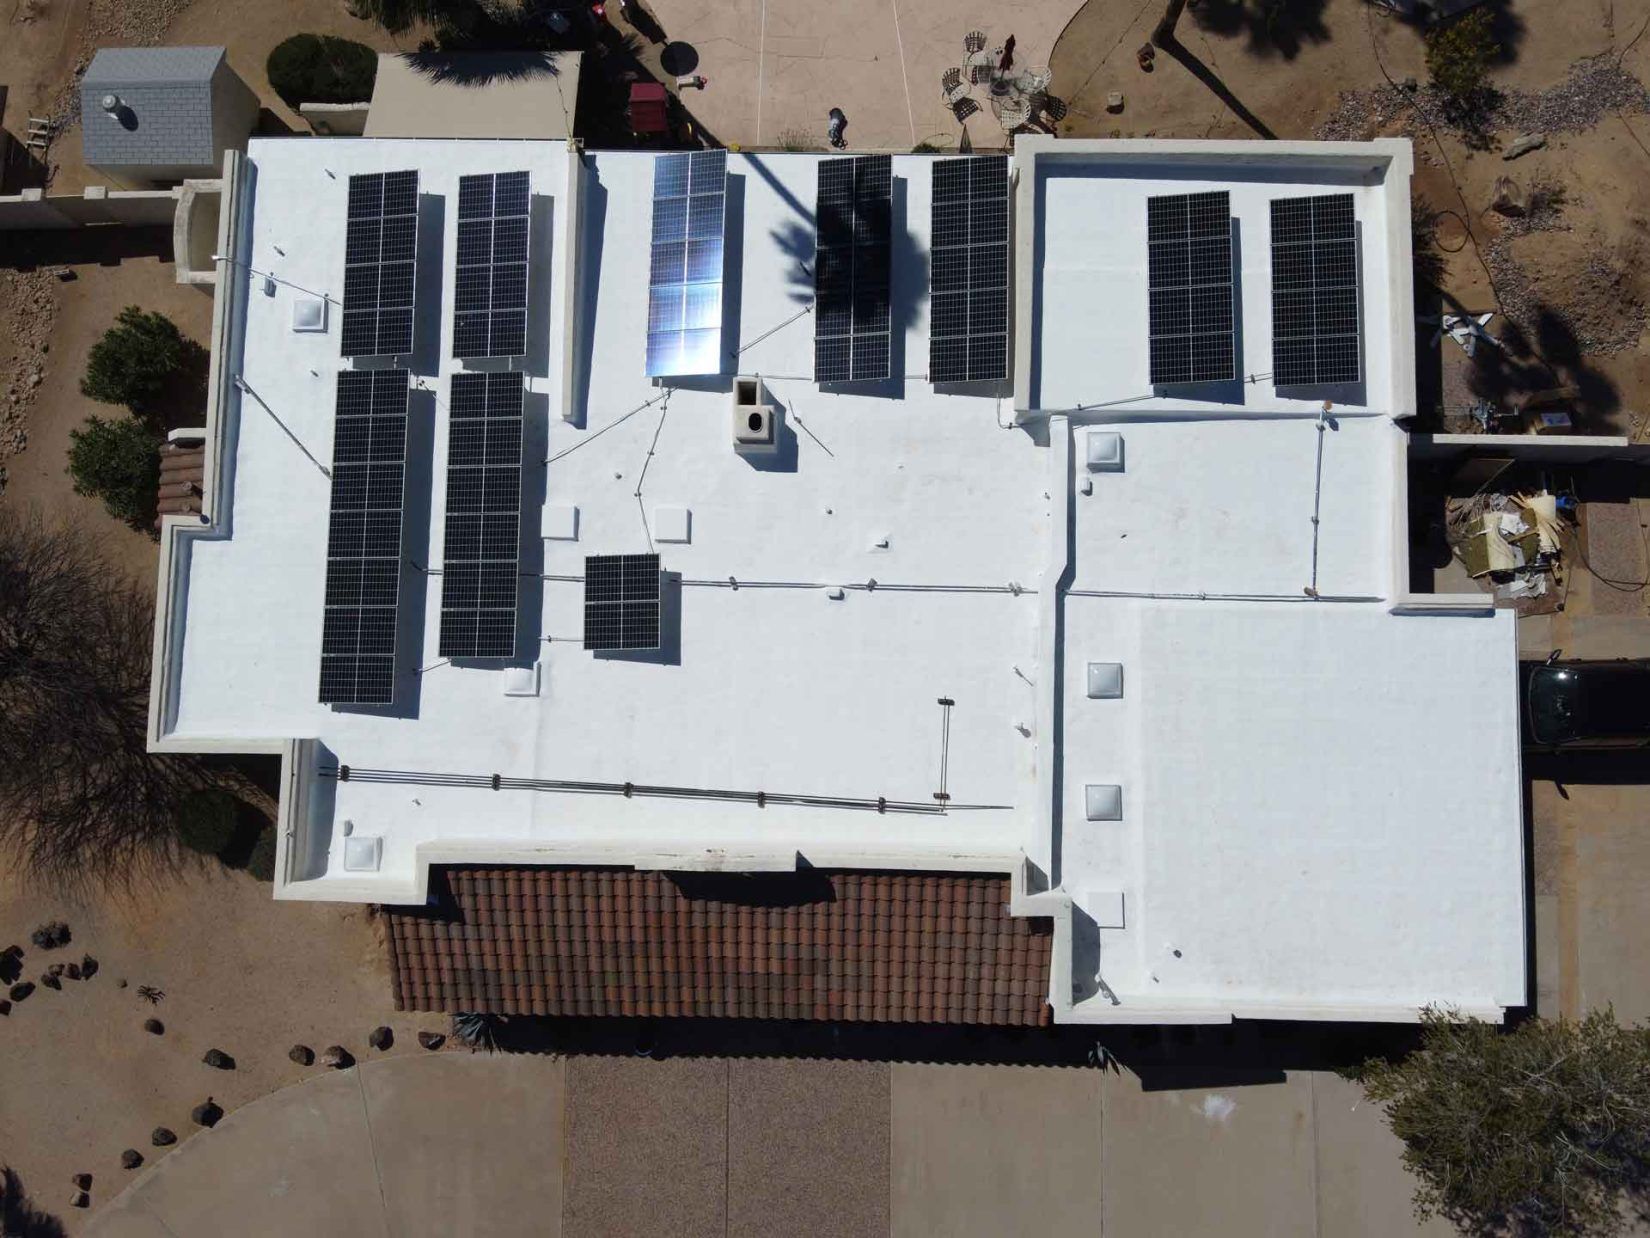
  • Reflective roofing systems can lower peak cooling demand in air-conditioned residential properties by 11% to 27%. This helps homeowners to enhance energy efficiency after a roof replacement.
  • A new roof installation usually consists of inspection, material selection, installation, deck preparation, tear-off, and final inspection. 
  • Professional roofing installation can help enhance climate protection, long-term property value, and energy efficiency. 
  • Homeowners can expect some noise, limited access, and debris around their property during installation work.


A roof is one of the most important parts of any home. It does far more than provide shelter; it protects your family, belongings, and the structural integrity of your property from everyday wear and harsh climate. However, no roof lasts forever. As it reaches the end of its service life or is severely damaged, replacing it becomes important to maintain your home's value and safety. Understanding the roof installation process can help you prepare for the project, set up realistic expectations, and minimize unexpected challenges.


Installing a New Roof: What are the Steps?


A new roof provides benefits that extend past basic climate protection. It improves your home’s structural integrity, enhances energy efficiency and overall value while lowering the possibility of future maintenance problems. Industry research shows that reflective or cool roofing systems can lower peak cooling needs in air-conditioned residential buildings by 11% to 27%. This can help every homeowner to enhance indoor comfort and lower energy consumption during warmer months. Now, let’s take a look at the steps of installing a new roof:


Step 1: Assessment and Roof Inspection


A professional roofing expert starts by checking the roof’s condition, detecting hidden and visible damage, and assessing main components like drainage, decking, ventilation and flashing. This assessment can help in determining the installation timeline, costs, material needs, and project requirements.


Step 2: Picking Roofing Materials


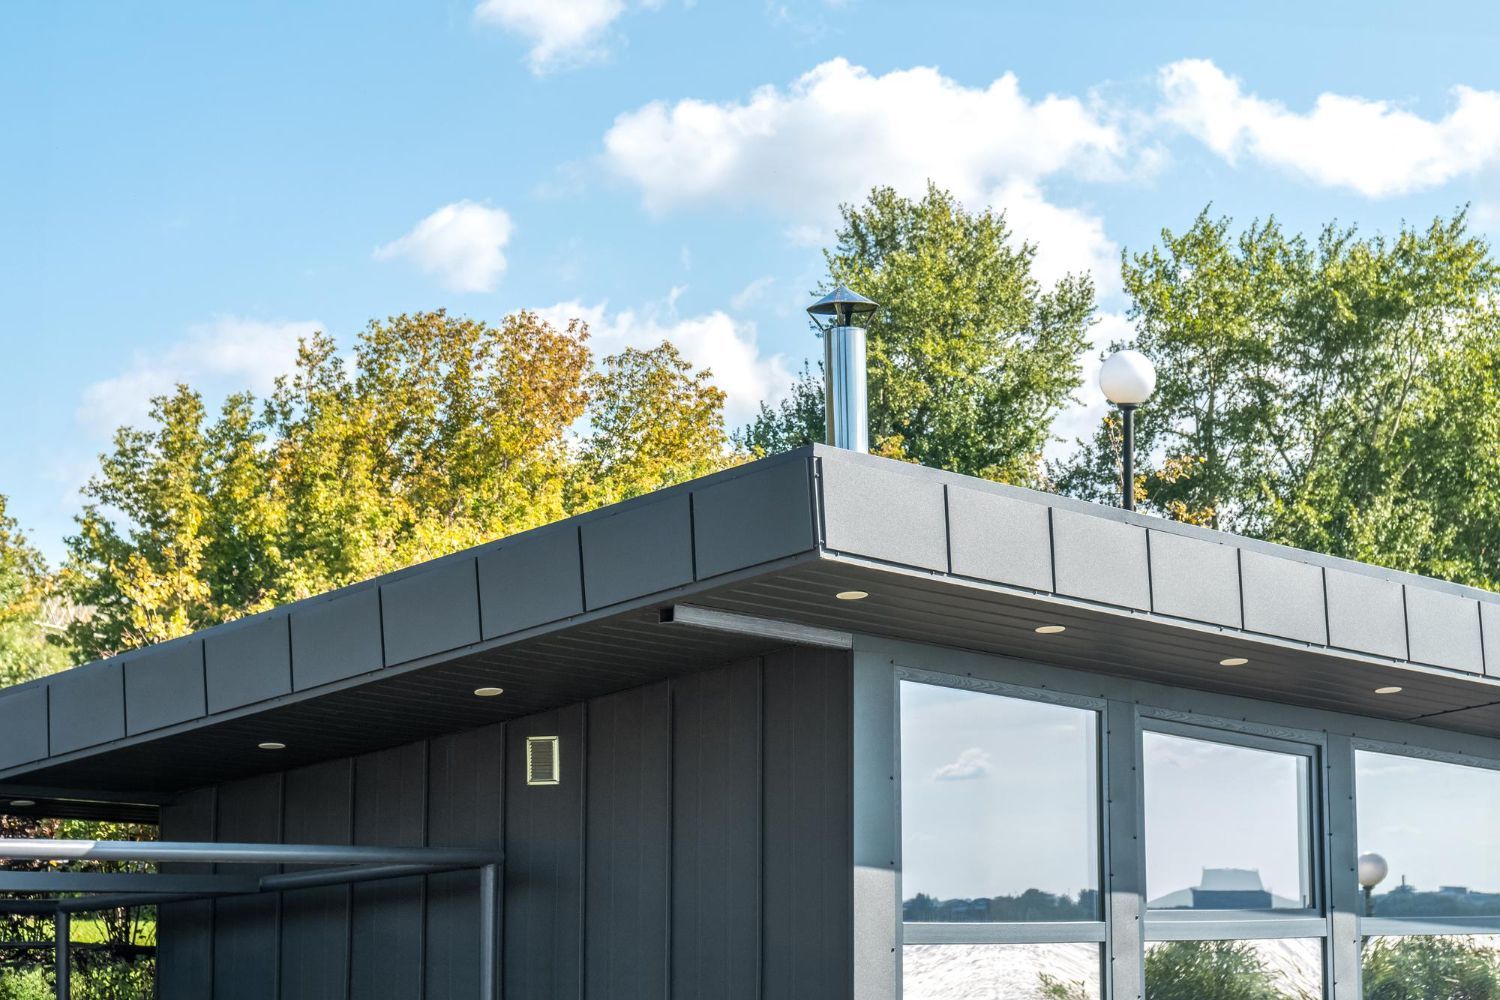
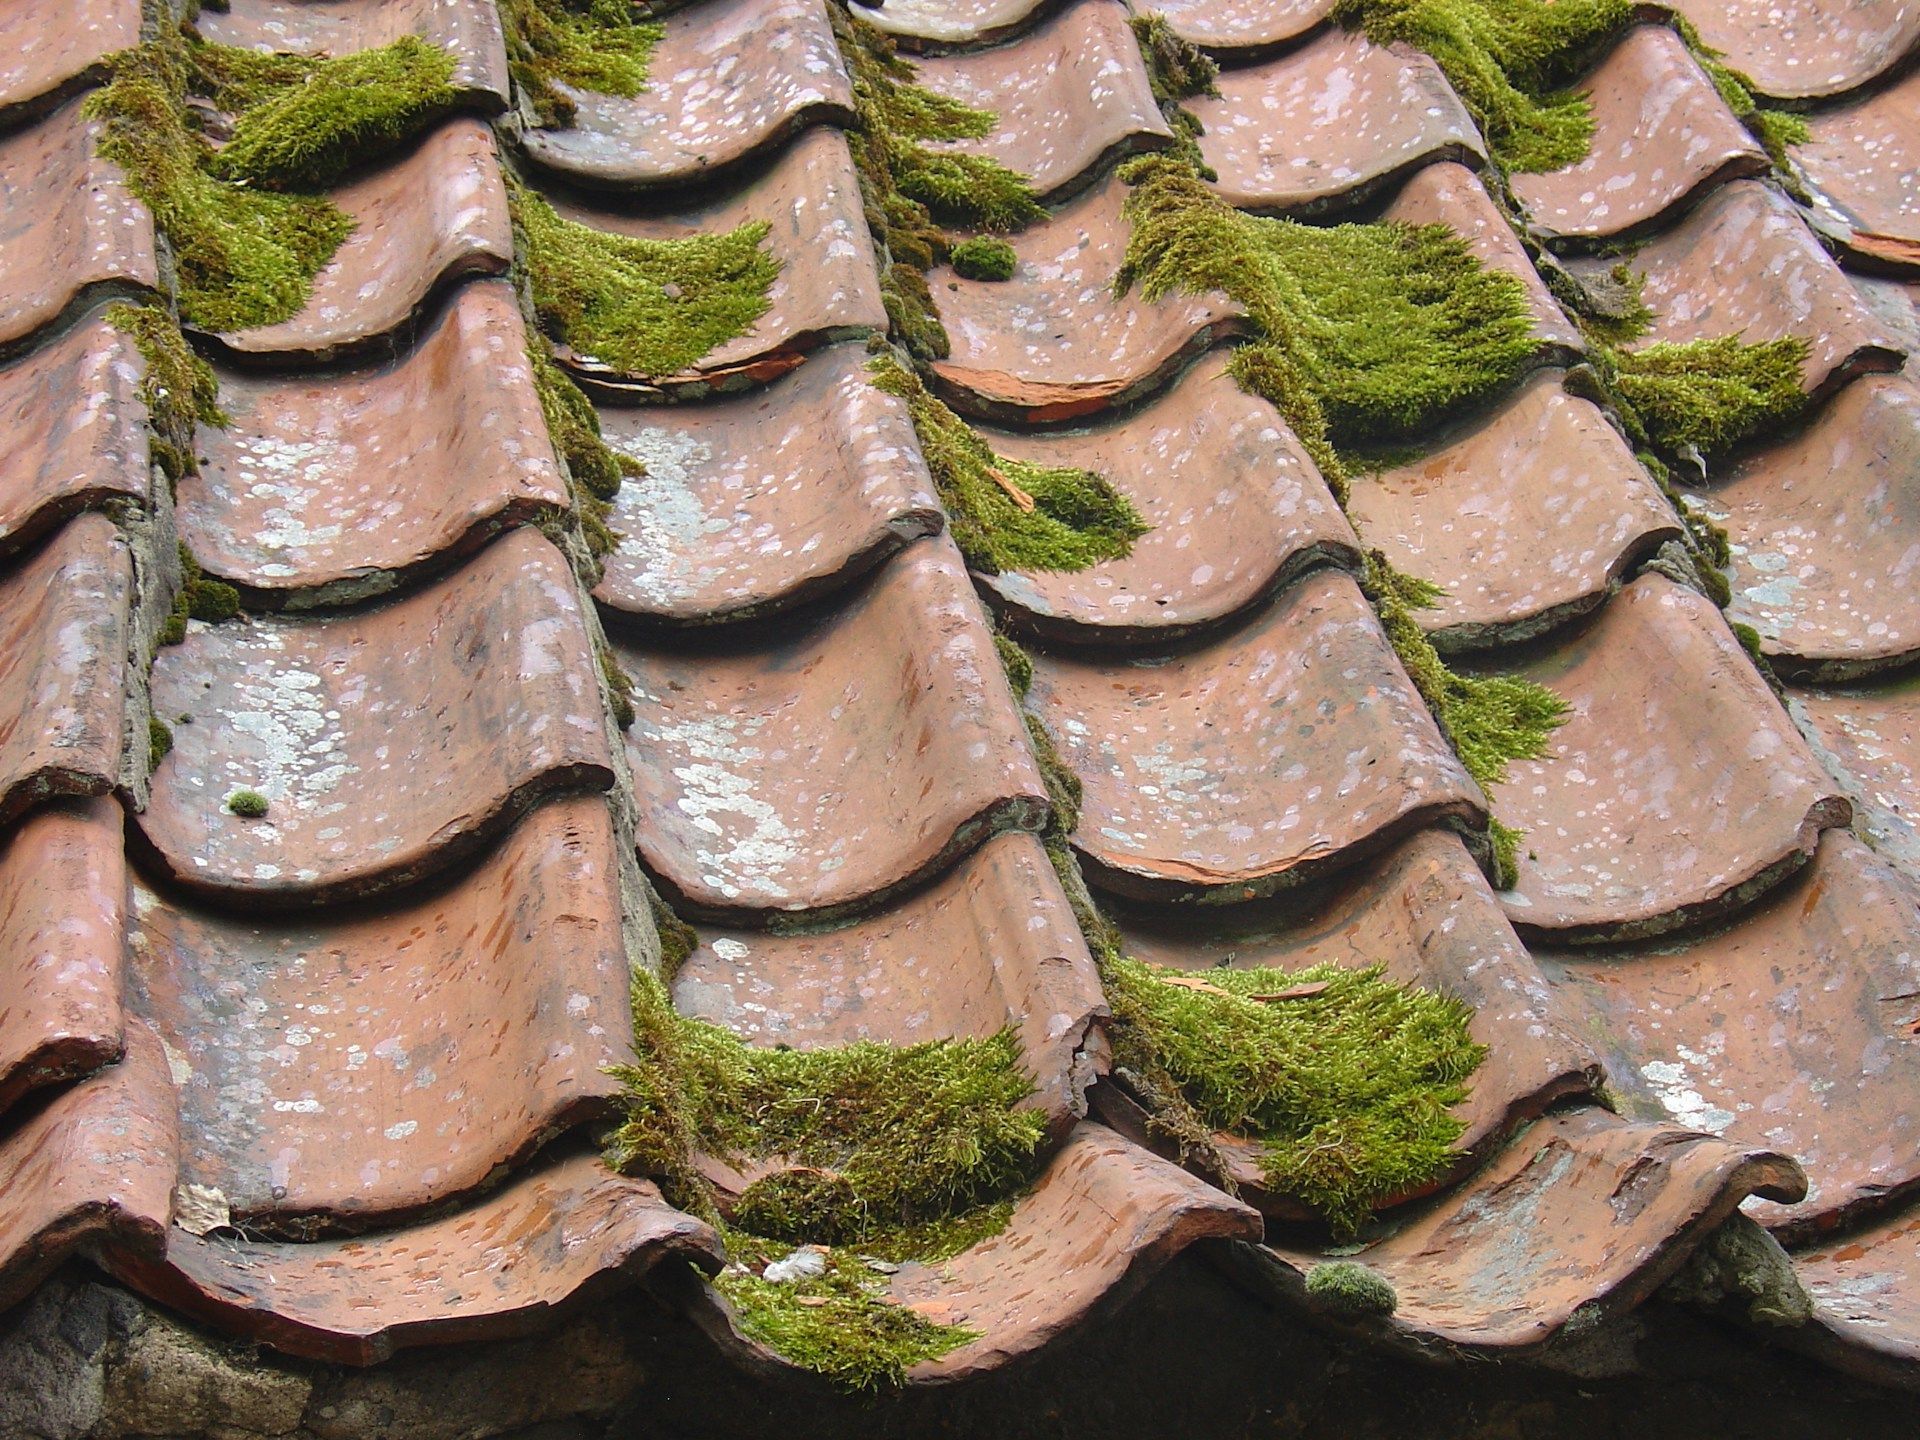
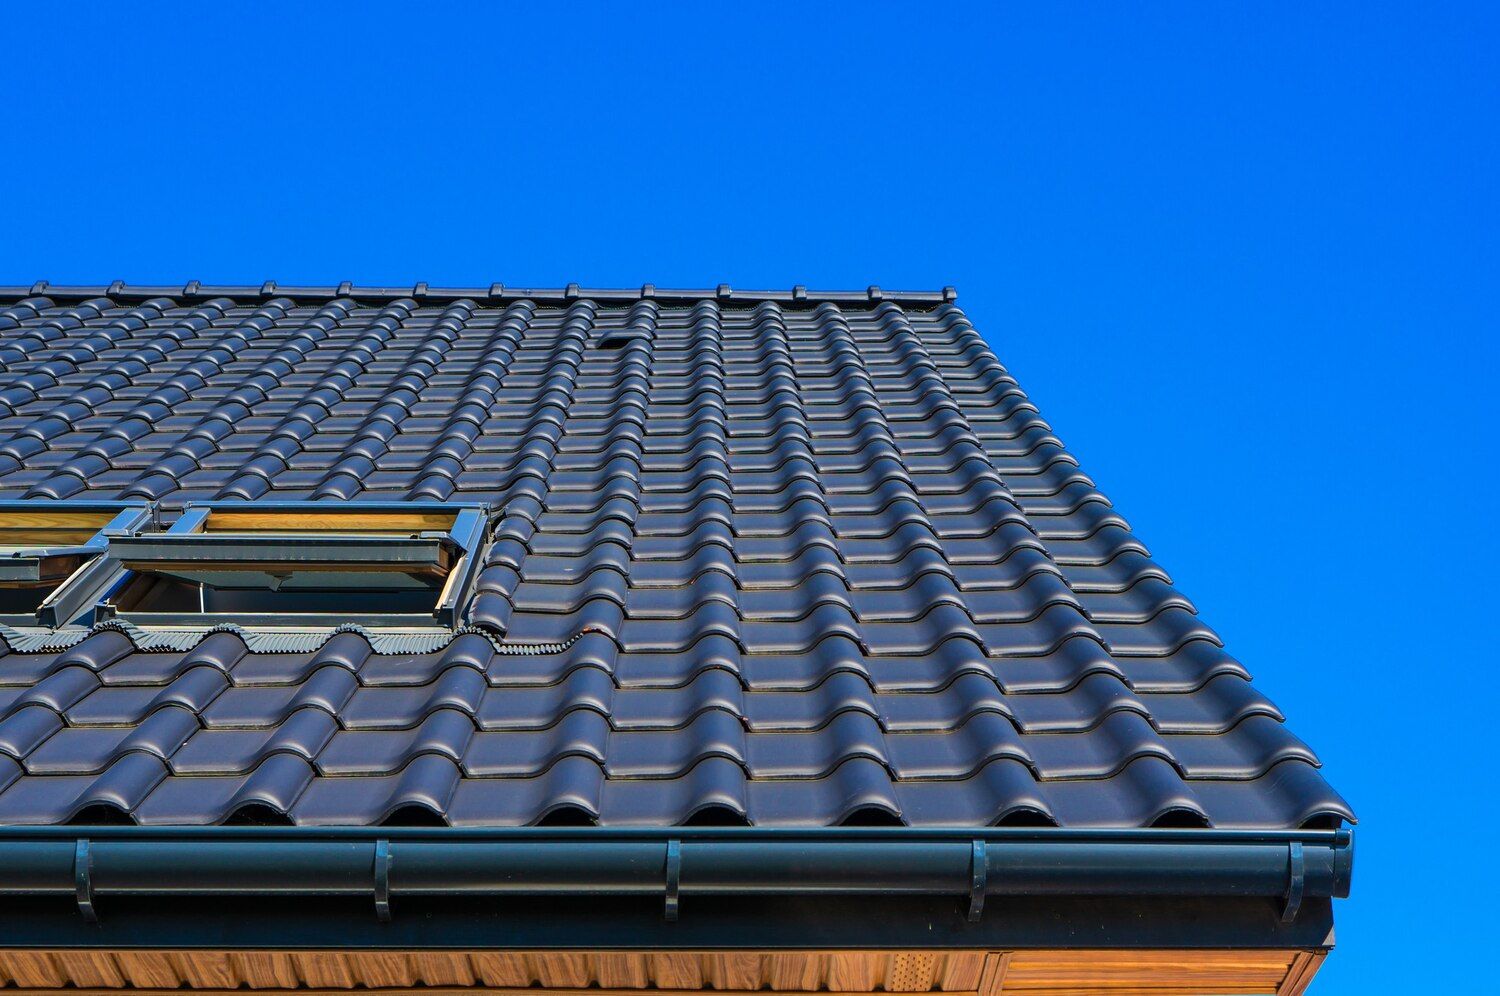
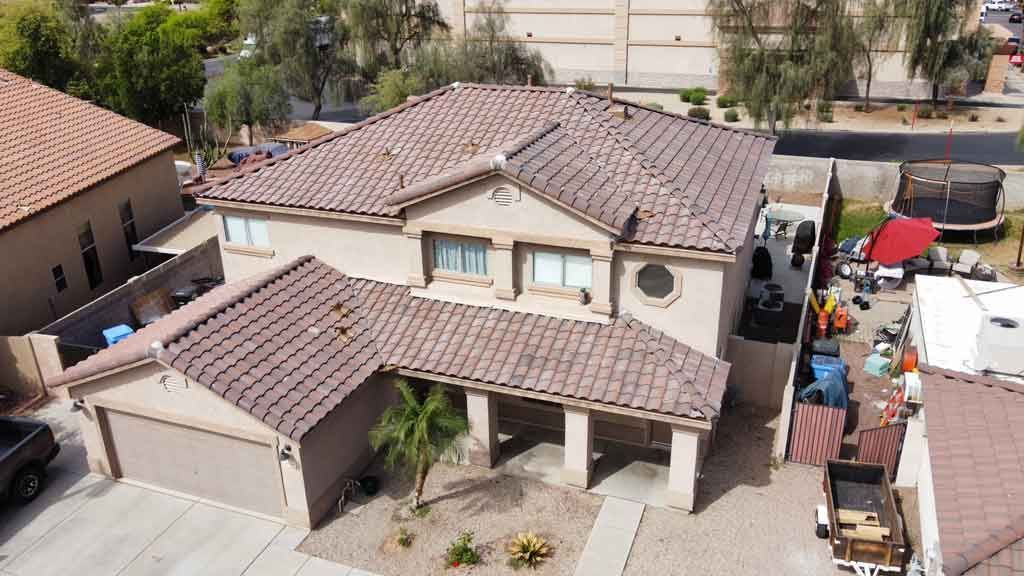
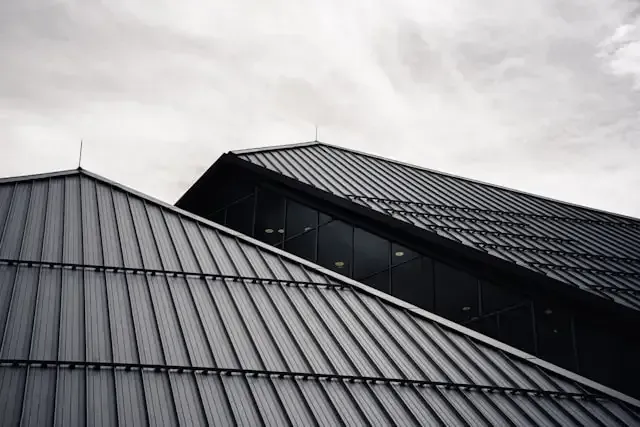
Opting for the correct roofing materials relies heavily on factors like durability expectations, home design, local climate, and budget. Some of the most common options are flat roofing systems, clay tiles, metal roofing, and asphalt shingles. Each option provides different benefits in terms of appearance and performance.


Step 3: Preparing the Property


Right before the work begins, contractors prepare the property to safeguard exterior belongings, vehicles, and landscaping. Homeowners need to move their vehicles, keep pets and children away from work areas, and secure all fragile items indoors to ensure safety during the entire installation work.


Step 4: Removing the Old Roof


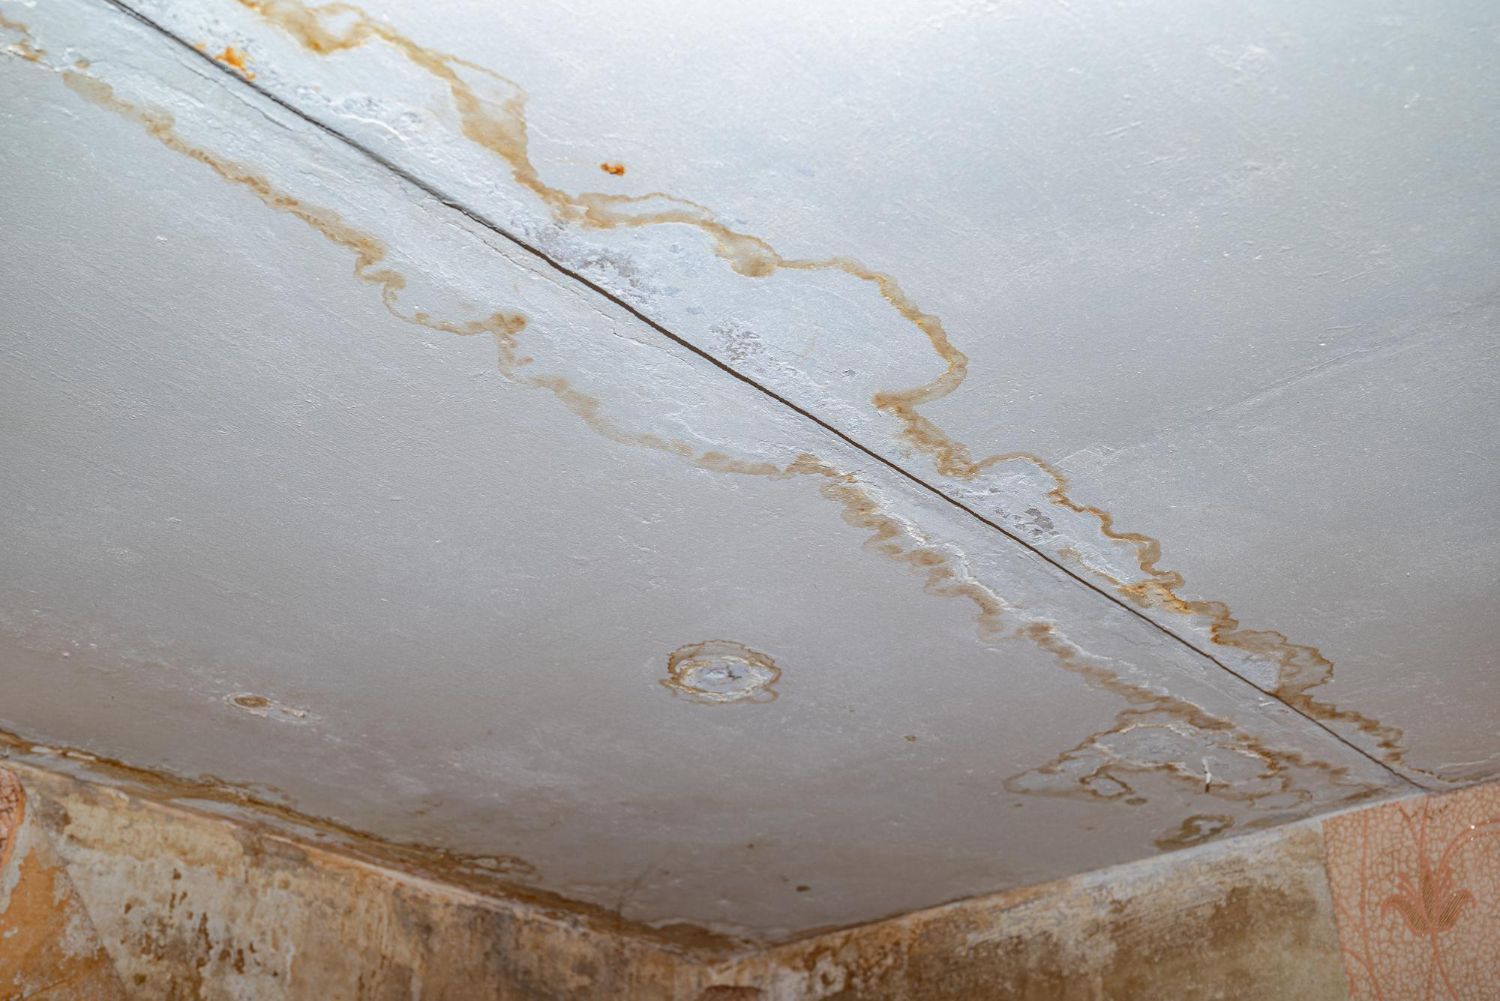
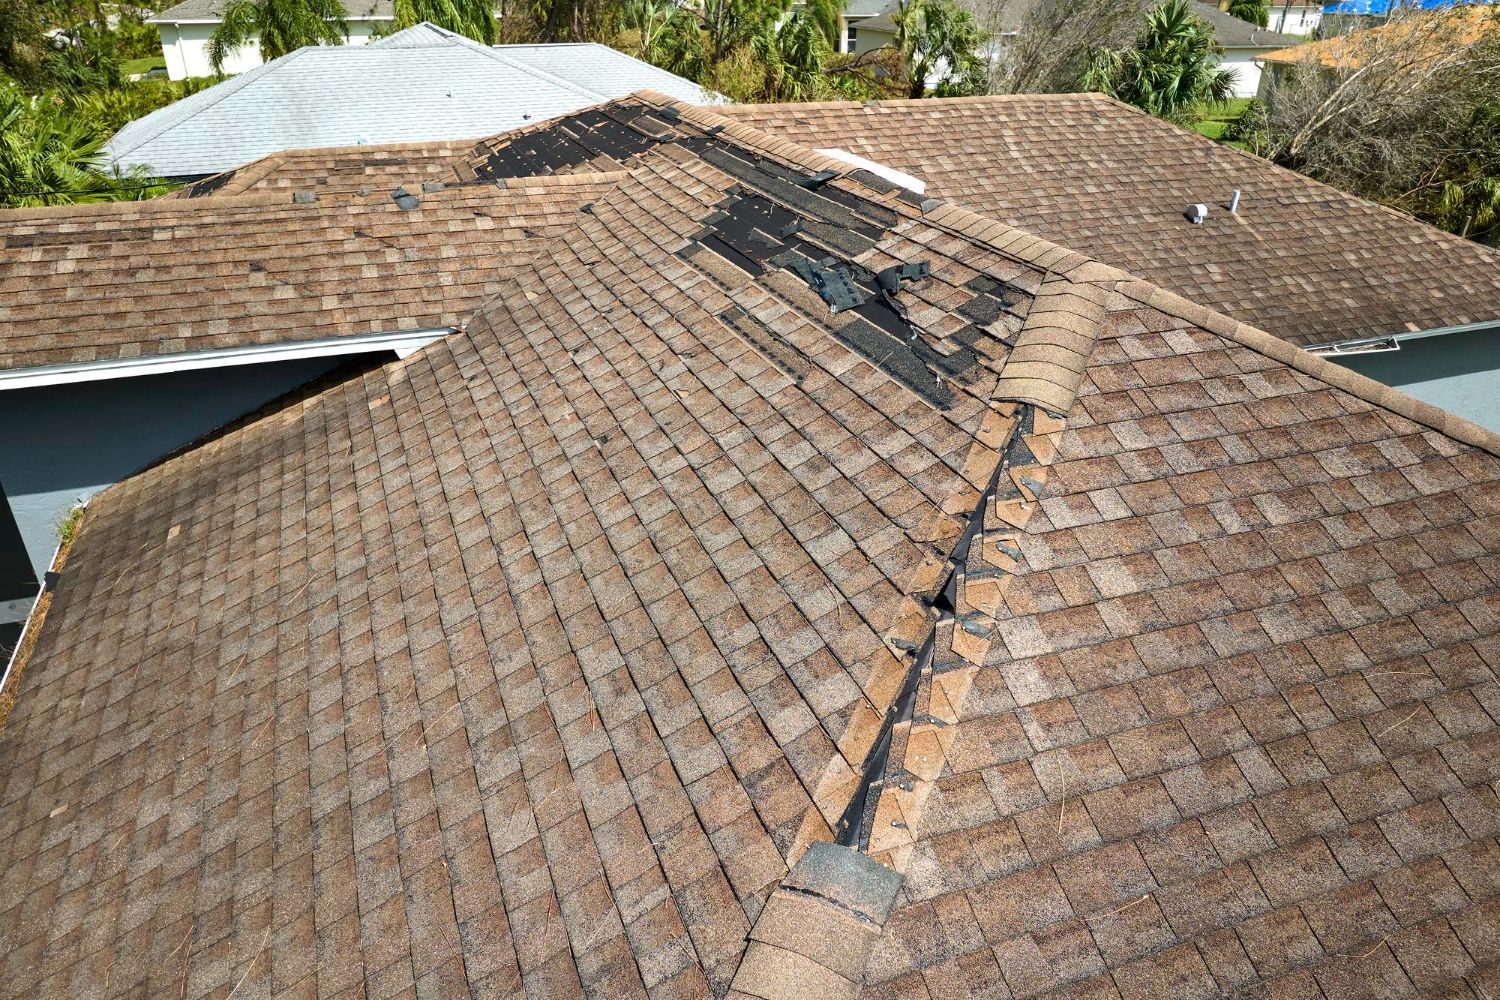
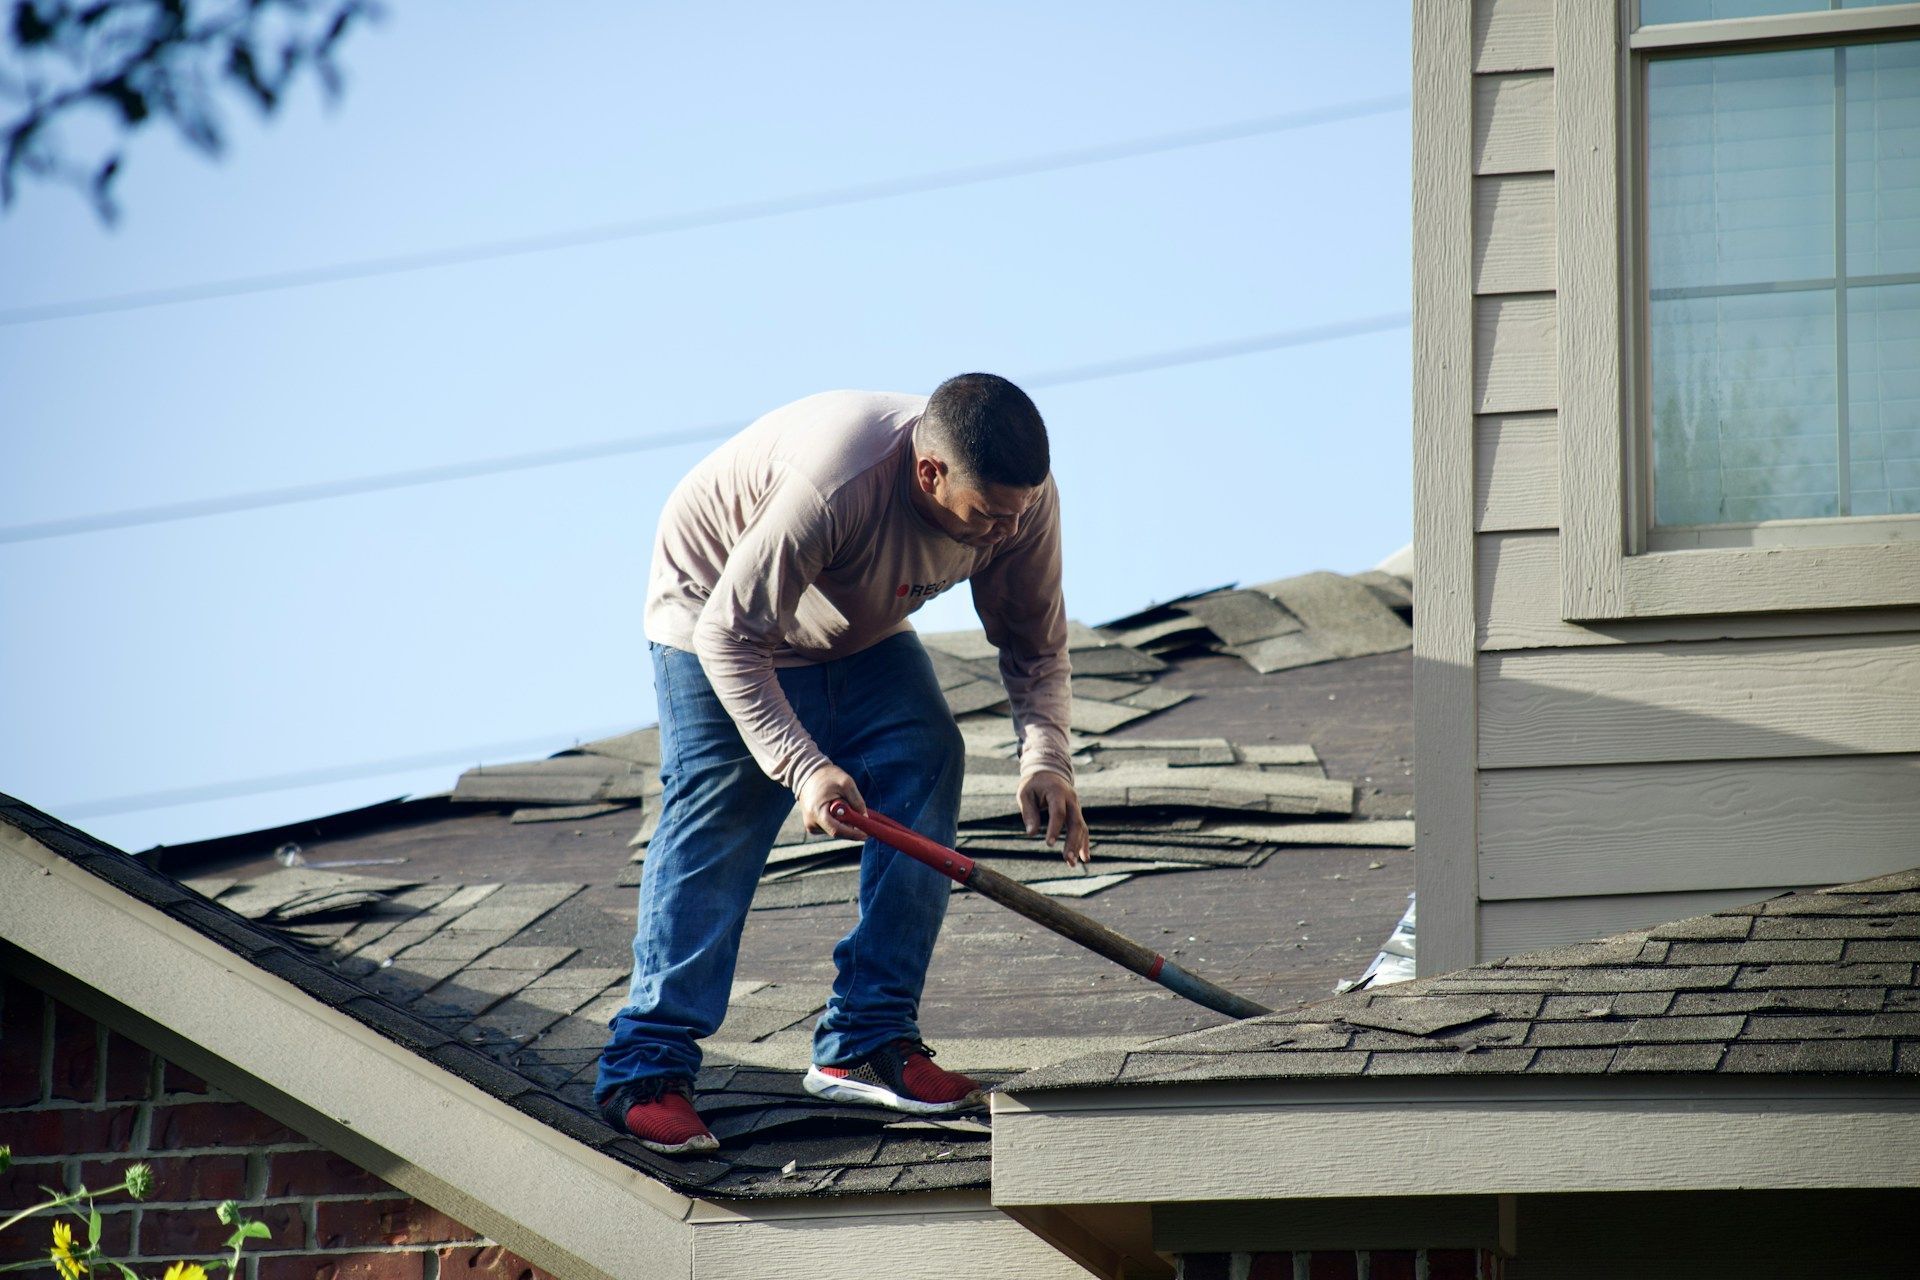
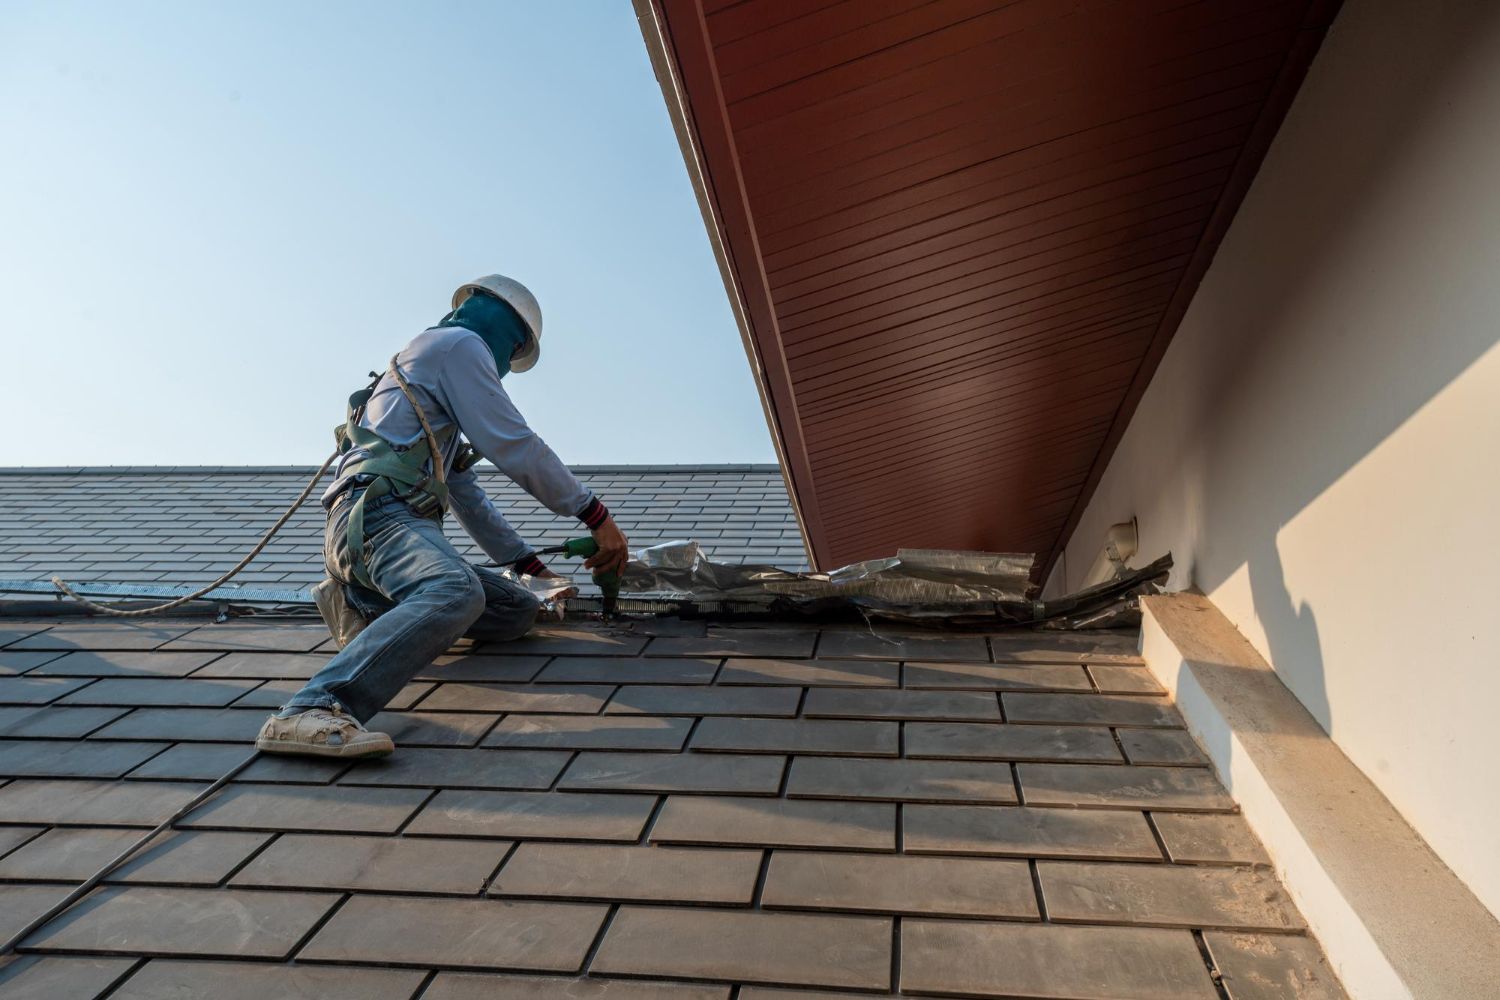
The current roofing materials are properly removed, exposing the roof deck. This step enables roofing experts to look for hidden problems like structural concerns, mold growth, wood rot, or water damage. All these things need to be addressed before the installation work begins.

Step 5: Inspect and Repair the Roof Deck


After the old roof has been removed, contractors check the roof deck for signs of deterioration. Any weakened or damaged sections are replaced or repaired to offer a good foundation. This ensures a new roofing system performs well and lasts much longer.


Step 6: Installing Protective Components and Underlayment


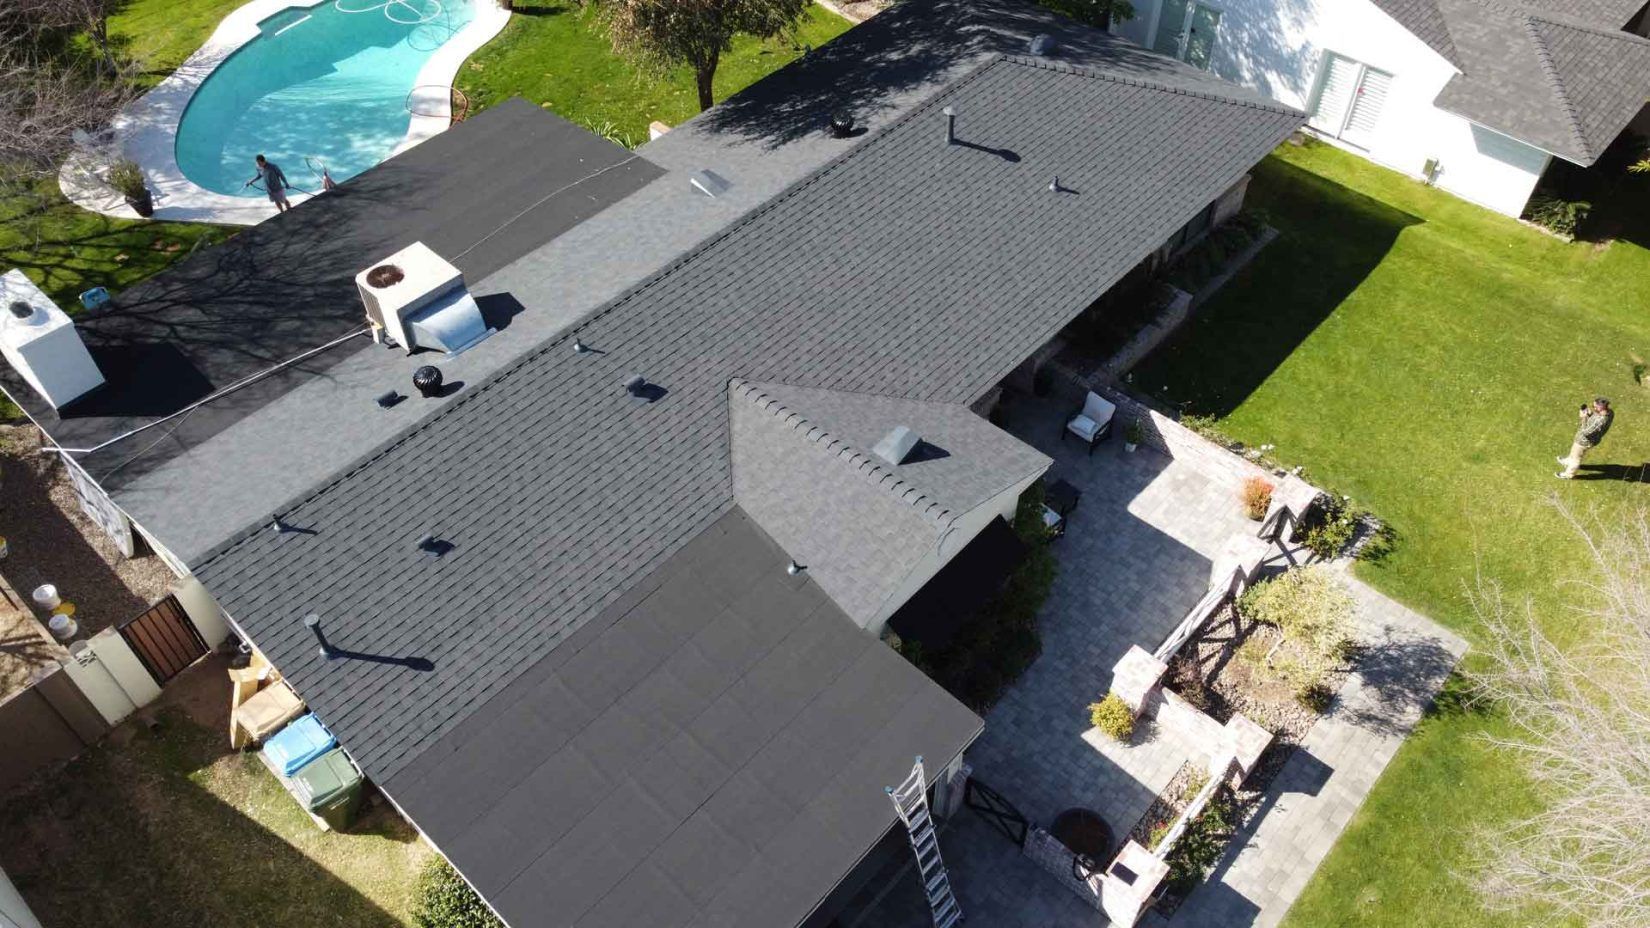
Protective materials like water barriers, drip edges, flashing, and underlayment are installed before the final roofing material. Together, these components provide an additional layer of protection against moisture infiltration to help safeguard the house from weather-related damage and leaks. 


Step 7: Installing the New Roof


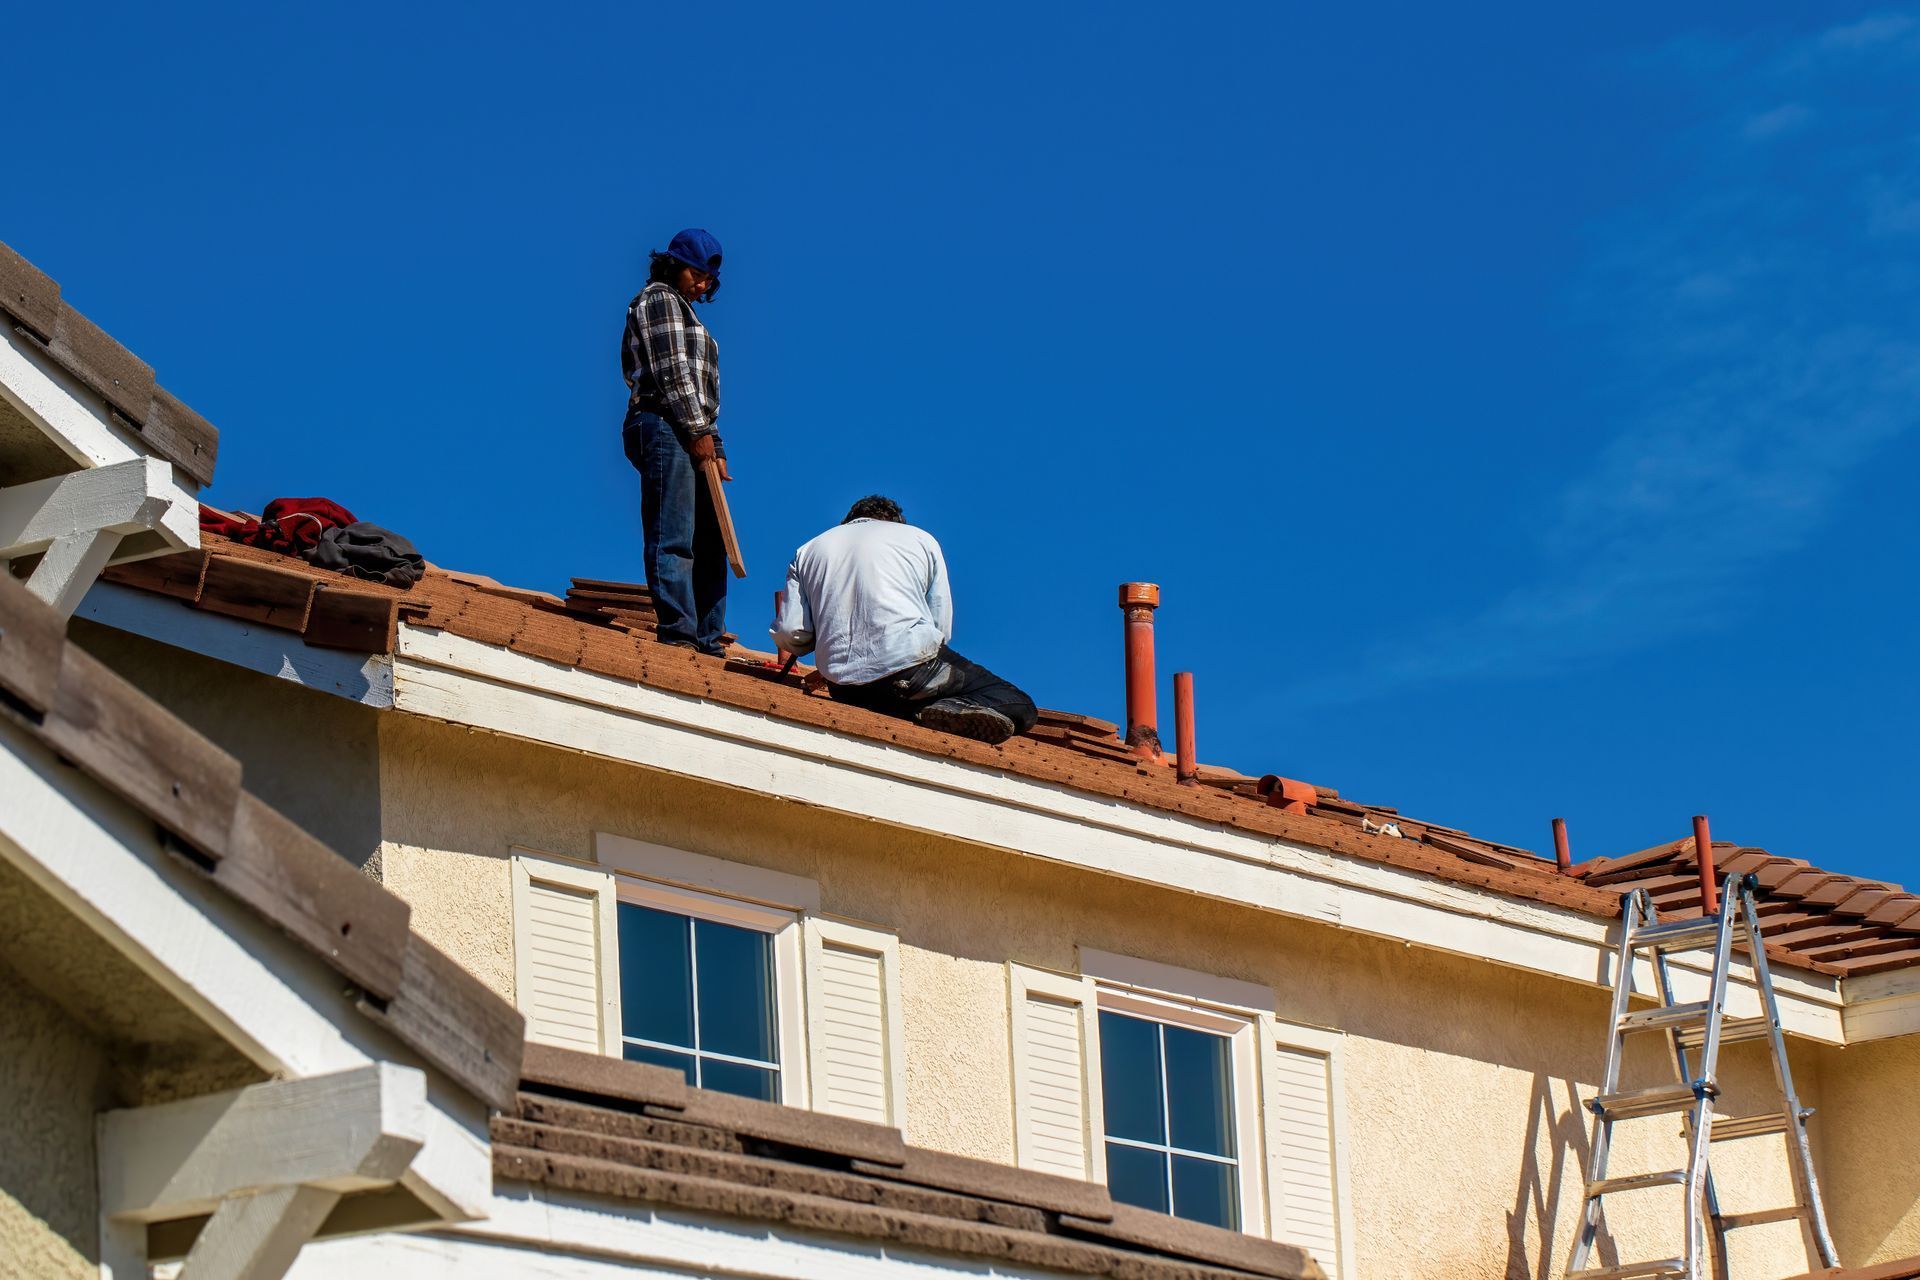
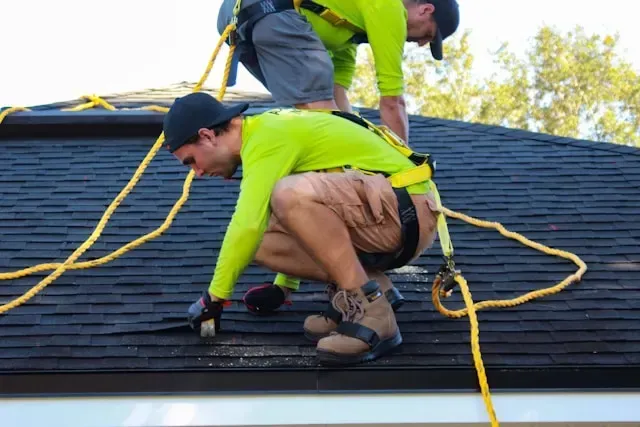
When the protective layers are in place, a comprehensive metal roof installation guide can help homeowners install the chosen roofing material based on the manufacturer’s specifications. Tiles, metal panels, or shingles are well secured, while flashing details, ventilation components, and ridge caps are completed for optimal performance.


Step 8: Final Inspection and Cleanup


The entire new roof installation project concludes with a proper cleanup and inspection. Roofing expenses include removing all debris, verifying proper installation, and collecting loose nails. Homeowners may also get information on the warranty, suggestions on maintenance, and confirmation that the roof satisfies safety and quality standards.


Conclusion


A new roof installation stands out as a massive home improvement project, but having a good understanding of every stage can make the process a lot easier to manage. Every phase in the roof installation work plays an important part in safeguarding your home. Working with a skilled roofing contractor can provide you with a complete new roof installation guide and also ensure long-term performance and top-tier workmanship. ProWest Roofing offers its services to industrial, commercial, and residential property owners. They offer solutions like insurance claim assistance, restoration services, installation, replacements and repairs. Their focus on quality craftsmanship, customized roofing solutions, and reliable service can help homeowner safeguard their properties with confidence.


FAQs


1. What to expect from the roof installation process?


A roof installation process consists of inspection, delivery of materials, roof removal, deck repair, installation, cleanup, and final inspection. 


2. What is replaced when you get a new roof?


Apart from the shingles, contractors might replace damaged decking, ventilation systems, drip edges, flashing, and underlayment. 


3. What happens when you have a new roof?


A new roof can provide enhanced protection against the climate, increase property value, and improve curb appeal.


4. How soon does a new roof need to be inspected?


A professional inspection within the 1st year can help in detecting any sort of installation problem or maintenance needs, and storm-related damage. 

Recent Posts

Taking a Look at the Various Commercial Roof Types
July 20, 2026
Explore the most well-known commercial roof types. Get to know about their advantages and ideal applications.
Understanding the Commercial Roof Repair Costs for All Arizona Businesses
July 17, 2026
Find out what affects the costs of commercial roof repair in Arizona, including labor, building size, damage severity and roof type.
Ultimate Guide on Roof Leak Repair for Homeowners
July 16, 2026
Learn the common causes of roof leaks, how to spot early warning signs, and the most effective repair solutions to protect your home from costly damage.
July 16, 2026
Learn what can happen during a roof replacement process, right from inspections to final cleanup. Follow a step-by-step method to prepare for your roofing project effectively.
July 9, 2026
Follow this residential roofing maintenance checklist with seasonal care tips to protect your Arizona home and extend your roof's lifespan.
June 11, 2026
Learn how to spot early signs of roof damage with our residential roof inspection guide. Help homeowners protect their home before small issues grow.
June 11, 2026
Not sure whether to repair or replace your Arizona roof? Discover key factors to help homeowners make the right decision and protect their investment.
June 11, 2026
How long does a roof last in Arizona's harsh climate? Compare the lifespan of every roofing material tile, shingle, metal, and more before you replace.
June 11, 2026
After a storm, should you repair or replace your roof? Our inspection guide helps homeowners spot damage, compare costs, and make the right decision fast.
June 11, 2026
Discover the best roofing materials for hot climates. Arizona homeowners — see what holds up against desert heat, UV, and monsoon season year after year.
Show More